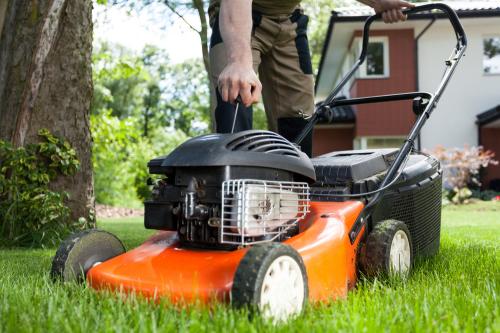
How to Tune Up Your Lawnmower

Have your mower purring like a cat in no time with our quick and easy tuning guide!
Spring is on the way, and it's time to get your garden equipment ready for the season ahead. One little job that is often overlooked, but is hugely beneficial, is lawnmower tuning. Much like a car, lawnmowers need a good old service every so often to keep them running in top condition.
A yearly tune-up will not only improve the lifespan of your mower, it will also help it run better and increase fuel efficiency by up to a third, while decreasing emissions. A job well worth doing then!
Many tool hire companies offer their tuning services at a cost, but it's a straightforward job, and doing it yourself at home will save money and the hassle of transporting your lawnmower across town in your car.
What's Needed:
There are a few fundamental steps to tuning up your lawnmower and although it doesn't take any elaborate equipment, you will need some basic tools and materials.
- Ratchet and socket set
- Screwdriver
- Air filter
- Spark plug
- Engine oil
- Lawnmower fuel treatment (optional)
Every lawnmower is different, so check your user manual for specific spark plug, engine oil, and air filter requirements. Manuals for the most common lawn mowers on the market can he found at https://diygarden.co.uk/guides/lawn-mowers/.
Fuel treatment is an optional extra but it will stop the fuel in your mower degrading over time, making it last longer and preventing corrosion of the engine.
Let's Do It!
Drain the Oil
Warm oil drains easier than cool oil so start up your mower and let it run for a few minutes first. Once you have shut the engine off, remove the drain plug and let the oil bleed out. You may need to tilt the lawnmower to make sure it empties completely. Replace the drain plug and fill the engine with oil, checking the dipstick to ensure it's at an optimal level. Job done!
Change the Air Filter
Remove the air filter cover. Take out the old filter and insert the new one, making sure the pleats are facing outwards. Screw the filter cover back on. Easy peasy!
Change the Spark Plug
Spark plugs are generally factory gapped, but it is a good idea to visually inspect your new spark plug before changing it to ensure it is in working order. There should be a gap between the electrode at the base of the plug and the overhanging arm. If the overhanging arm is touching the electrode, the engine of your mower won't start.
Disconnect the spark plug wire and clean the area around the old spark plug to prevent debris infiltrating combustion chamber when removed. Using a ratchet, loosen and detach the old plug. If the plug is locked tight or rusted on, spray with some lubricant and allow it to set for 10 minutes before trying again.
Once the old plug is out, thread the new plug into the hole by hand before tightening gently with a ratchet. Take care not to apply too much force, as the plug is easily damaged. Reattach the spark plug wire, and you're good to go!
Fuel Treatment
If you're using fuel treatment, it should be added to the fuel tank on an ongoing basis. Check the bottle for specific instructions.
Test the Mower
Give it a go! Your lawnmower should fire up smoothly and give you another season of loyal service. If it fails to start, retrace your steps. The spark plug is usually the main offender, so check that it is properly threaded and that there is a sufficient gap between the electrode and overhanging arm.
It really is that easy! An hour on a Saturday afternoon will guarantee that your lawnmower trundles on without complaint for many years to come.
Clive Harris is a DIY and gardening enthusiast from Essex, England. His personal blog can be found at https://diygarden.co.uk where he shares creative ideas and helpful how-to guides.
